Introduction to Camshaft Position Sensor Replacement
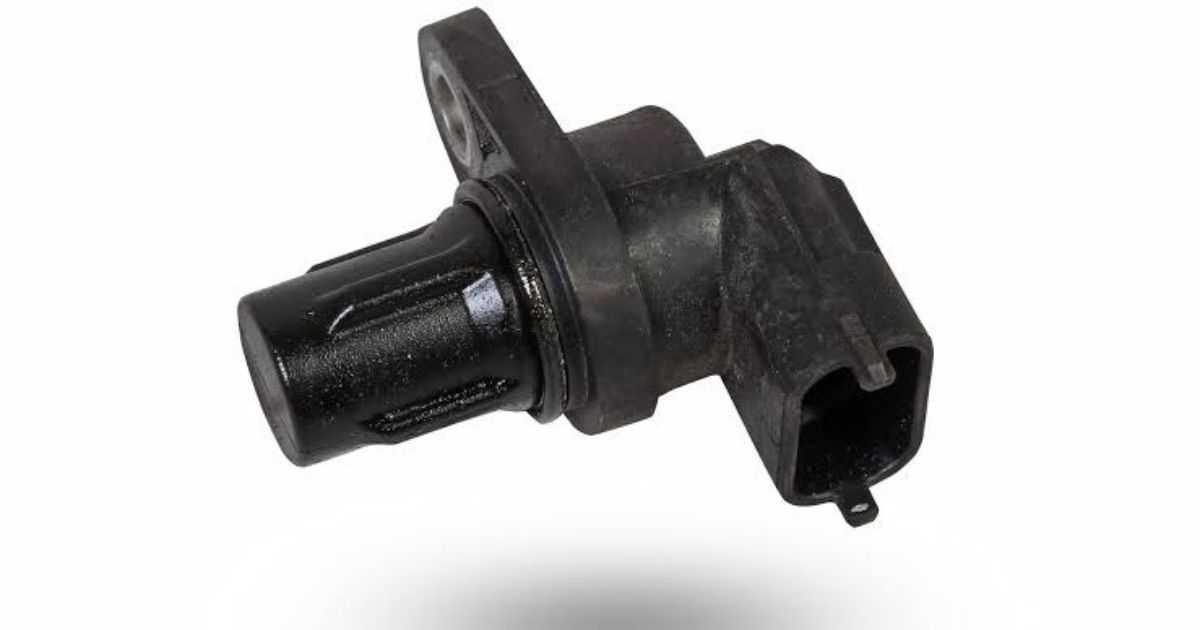
The camshaft position sensor (cam sensor) is responsible for monitoring the rotation of the camshaft and sending signals to the engine control module (ECM) to optimize fuel injection and ignition timing. A failing cam sensor can lead to engine misfires, poor acceleration, stalling, and a check engine light.
Replacing a faulty camshaft position sensor is a relatively simple process and can be done with basic tools. This guide provides step-by-step instructions on how to replace a camshaft position sensor safely and efficiently.
1. Symptoms of a Failing Camshaft Position Sensor
✅ Check Engine Light (CEL) illuminated ✅ Engine misfires or rough idling ✅ Difficulty starting or intermittent stalling ✅ Reduced fuel efficiency ✅ Loss of engine power or hesitation during acceleration
2. Tools and Materials Needed
🔧 New camshaft position sensor (Ensure compatibility with your vehicle) 🔧 Ratchet and socket set (usually 8mm or 10mm socket) 🔧 Screwdriver (if required for covers or brackets) 🔧 Torque wrench (for proper bolt tightening) 🔧 Gloves and safety glasses
3. Steps to Change a Camshaft Position Sensor
Step 1: Safety Precautions
- Park the car on a flat surface and engage the parking brake.
- Turn off the engine and allow it to cool completely.
- Disconnect the negative battery terminal to prevent electrical shorts.
Step 2: Locate the Camshaft Position Sensor
- The cam sensor is typically located near the cylinder head, often near the valve cover or timing chain.
- Refer to your vehicle’s service manual to find the exact location.
Step 3: Remove the Old Sensor
- Unplug the electrical connector from the camshaft sensor.
- Remove any bolts or clips securing the sensor.
- Gently pull the sensor out of its position (a slight twist may help if it is stuck).
Step 4: Install the New Sensor
- Compare the old and new sensors to ensure they match.
- Insert the new sensor into the same position.
- Secure it with the retaining bolt and tighten it to manufacturer specifications.
- Reconnect the electrical connector.
Step 5: Reconnect the Battery and Test
- Reconnect the negative battery terminal.
- Start the engine and let it idle.
- Check for smooth operation and confirm that the Check Engine Light is off.
- If necessary, use an OBD2 scanner to clear any stored trouble codes.
4. Additional Tips for a Successful Replacement
🔹 Use OEM or high-quality replacement sensors for better performance. 🔹 Inspect the wiring harness for damage or corrosion before installing the new sensor. 🔹 Avoid overtightening the bolt, as it may crack the sensor. 🔹 If the check engine light persists, recheck the connections or scan for additional codes.
5. Final Thoughts: Ensuring Proper Engine Performance
Replacing a faulty camshaft position sensor can restore engine efficiency, smooth acceleration, and fuel economy. By following these step-by-step instructions, you can successfully replace the sensor and prevent potential engine issues. If problems persist, consider consulting a professional mechanic for further diagnosis.