Introduction
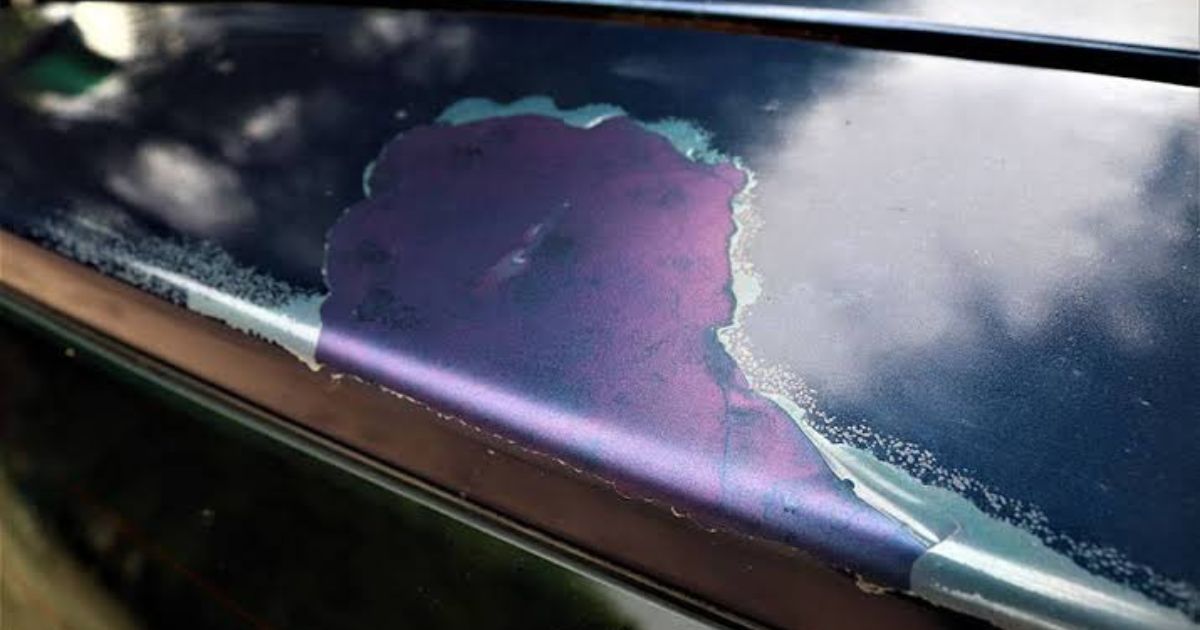
A peeling clear coat can make your car look old and neglected. The clear coat protects the paint from sun damage, dirt, and moisture, but over time, exposure to harsh weather conditions and improper care can cause it to peel. Luckily, you can fix a peeling clear coat yourself with the right tools and techniques. This guide will walk you through the step-by-step process of repairing a damaged clear coat to restore your car’s glossy finish.
1. Causes of Clear Coat Peeling
Before fixing the issue, it’s essential to understand why the clear coat peels:
- Sun Exposure – UV rays break down the protective layer over time.
- Improper Washing – Harsh chemicals and abrasive sponges can wear it out.
- Lack of Waxing – Regular waxing helps maintain the integrity of the clear coat.
- Poor Factory or Previous Paint Job – Low-quality application can lead to peeling.
2. Tools & Materials Needed
✔️ Sandpaper (400, 800, 1500, and 2000 grit) ✔️ Automotive masking tape ✔️ Clear coat spray (automotive grade) ✔️ Rubbing alcohol or prep solvent ✔️ Microfiber cloths ✔️ Polishing compound and buffing pad ✔️ Car wax for final protection
3. Step-by-Step Guide to Fix Peeling Clear Coat
Step 1: Prepare the Area
- Park the car in a shaded, dust-free area.
- Clean the affected area using soap and water, then dry it.
- Use masking tape to protect areas that don’t need sanding.
Step 2: Sand Off the Peeling Clear Coat
- Start with 400-grit sandpaper to remove the peeling edges.
- Progress to 800-grit sandpaper to smooth out the surface.
- Wipe the area with rubbing alcohol or a prep solvent.
Step 3: Apply the New Clear Coat
- Shake the clear coat spray can well before use.
- Apply light, even coats from 8-10 inches away.
- Allow each coat to dry for 10-15 minutes before applying the next.
- Apply 3-4 coats for best results.
Step 4: Wet Sand and Buff the Surface
- After 24 hours, use 1500-2000 grit wet sandpaper to smooth out the new clear coat.
- Use polishing compound and a buffing pad to restore the shine.
Step 5: Apply Wax for Protection
- Wait at least 48 hours before applying car wax.
- Wax the area to add an extra protective layer against UV rays and contaminants.
4. Common Mistakes to Avoid
❌ Skipping sanding steps – Leads to uneven surfaces and poor adhesion. ❌ Applying thick coats – Causes drips and uneven drying. ❌ Not allowing proper drying time – Results in a sticky, messy finish. ❌ Using household spray paint – Only use automotive-grade clear coat.
5. When to Seek Professional Help
While DIY clear coat repairs work well for small areas, a professional repaint may be necessary if:
- The peeling covers a large portion of the car.
- The base paint underneath is damaged.
- You want a flawless, factory-like finish.
6. Final Thoughts
Fixing a peeling clear coat is a cost-effective way to improve your car’s appearance and protect its paint job. By following these steps, you can restore your vehicle’s shine and prevent further damage. Regular maintenance, such as waxing and proper washing techniques, will help extend the life of your clear coat.
Would you like recommendations for the best clear coat products?

[…] a funnel, pour the new transmission fluid into the fill port (usually located near the engine […]