Introduction
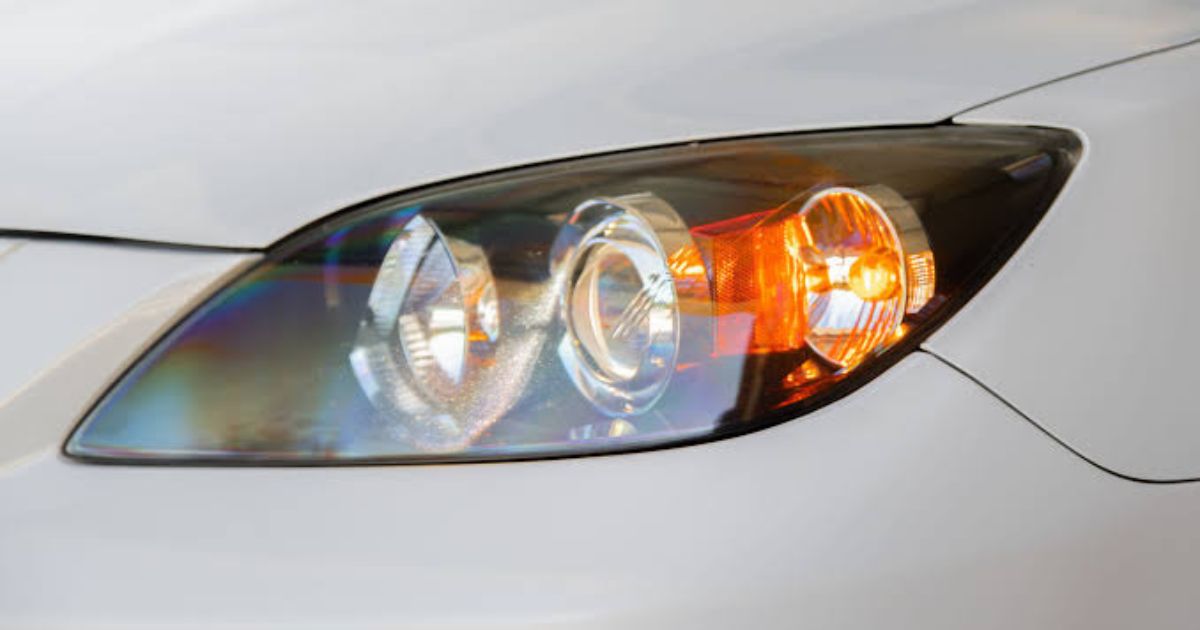
A malfunctioning blinker light can lead to unsafe driving conditions and potential fines. Replacing a faulty turn signal bulb is a simple and inexpensive DIY task that requires minimal tools. This guide will walk you through the step-by-step process of replacing a blinker light, ensuring your vehicle stays roadworthy and visible to other drivers.
1. Signs Your Blinker Light Needs Replacement
Before replacing the bulb, confirm that it is faulty. Common symptoms include:
- Fast blinking or hyper-flashing – This usually indicates a burned-out bulb.
- Blinker not working at all – A failed bulb or wiring issue could be the cause.
- Dim or flickering light – The bulb may be failing or have a poor connection.
- Dashboard indicator blinking rapidly – A common sign of a faulty turn signal bulb.
2. Tools & Materials Needed
Before starting the replacement, gather the following items:
✔️ Replacement blinker bulb (check your owner’s manual for the correct type) ✔️ Screwdriver (flathead or Phillips, depending on your vehicle) ✔️ Socket wrench (if required for headlight assembly removal) ✔️ Gloves (to prevent oil transfer to the new bulb) ✔️ Rubbing alcohol and a clean cloth (for cleaning connections)
3. Step-by-Step Guide to Replacing a Blinker Light
Step 1: Turn Off the Vehicle
- Ensure the engine and lights are off to prevent electrical shock.
- Engage the parking brake for added safety.
Step 2: Locate the Blinker Bulb
- For front turn signals, access the bulb from the engine bay or remove the headlight assembly.
- For rear turn signals, open the trunk or tailgate and remove the access panel.
Step 3: Remove the Old Bulb
- Unscrew or twist the bulb socket counterclockwise to release it.
- Gently pull out the old bulb from the socket.
Step 4: Install the New Bulb
- Wear gloves to prevent oil from your hands from reducing bulb lifespan.
- Insert the new blinker bulb securely into the socket.
- Twist the socket clockwise to lock it in place.
Step 5: Reassemble and Test
- Reattach the access panel or headlight assembly.
- Start the vehicle and test the turn signals on both sides to confirm proper operation.
4. Common Mistakes to Avoid
❌ Installing the wrong bulb type – Always check your vehicle’s manual. ❌ Touching the bulb with bare hands – This can shorten its lifespan. ❌ Not securing the bulb properly – A loose bulb may not function correctly. ❌ Ignoring a faulty blinker relay – If the new bulb doesn’t fix the issue, check the relay or fuse.
5. When to Seek Professional Help
If replacing the bulb does not fix the issue, other potential causes include:
- Blown fuses – Check your fuse box and replace any blown fuse.
- Faulty wiring – Damaged or corroded wiring may need professional repair.
- Bad turn signal switch – If all other components work, the switch may be faulty.
Final Thoughts
Replacing a blinker light is a quick and easy DIY task that ensures your vehicle remains safe and compliant with road regulations. By following the proper steps and avoiding common mistakes, you can replace your turn signal bulb in just a few minutes.
